
Split Photography Tips: A View Of Two Worlds
Split shots are one of the more difficult shots in underwater photography. Here are our top tips to get you going for success. Split shots are one of the more difficult shots in underwater photography. Here are our top tips to get you going for success. Shooting a high frame rate is essential to pulling off shots with both moving water lines and models. The split second diagonal movement of the wave is only possible to capture with a high frame and shooting a ton of shots. Nikon D2x, Nikon 10.5mm Fisheye, 1/125, f/13. Use a Fisheye Lens Non fisheye wide lenses typically need corrective optics to get both land and underwater in focus. While fisheye lenses do have a distorted look, they offer the greatest depth of field and the easiest method to get land and sea in focus. Altering the position of the lens with your composition or a slight crop on your final image can trim off any distracting curvature. Large Dome Ports Help Smooth Out the Water Even in flat sea conditions small ripples in the water can look like tsunamis through your lens. Large dome ports push these ripples further from your lens and help smooth out the waterline in your image. Large domes also make it easier to selectively place the water line in your image. I recommend a dome port of eight inches or larger for best results. This baby turtle was released back into the wild by the Wakatobi Dive Resort Sea Turtle Conservation Program. These tiny turtles swim fast and the entire shoot was over in ten seconds. Always scout your location early and dial in your shooting angles, exposure, and focus before the action starts. Canon 7D, Tokina 10-17mm Fisheye, 1/160, f/16.Use High Apertures for Best Depth of Filed (f16 or higher) The optical characteristics of dome ports are demanding on your lens. No matter how far your underwater subject is away from you, your lens will need to capture a focus from about 18 inches to infinity. Use an aperture of f16 or higher to maximize your depth of field. Use Fast Shutterspeeds (1/125 or higher) As perviously discussed, the ripples on the surface have more impact than one might think. Fast shutter speeds will help freeze not just the motion of the waterline, but the inevitable wobbles of both the camera and your subject. Shoot a Fast Frame Rate (5fps or higher) After a little practice you’ll find that perfect compositions only last a split second. Lovingly known as the “spray and pray method,” high frame rates will dramatically increase your keeper ratio. Wait for the conditions to line up and then squeeze off a long machine gun burst. Split images are not just for shallow water such as this oceanic white tip shark prowling around a dive boat in deep water. Fast frame rates and more than fifty photos are required to get one keeper in open water scenes. Nikon D3, Nikon 16mm Fisheye, 1/250, f/13.Dealing with Drops and Dribbles Water spots on the dome are image killers, but Photoshop you can easily touch up a small spot or two. However, one small spot in a critical area takes a Photoshop master to repair. Best practice is to prevent drops in the first place. While I shoot both acrylic and glass domes, I alway choose glass for shooting splits as it’s less likely to collect water drops. Here are my favorite preparation techniques. Getting super close to this medium sized swamp gator makes it look impressively large when shot with a fisheye lens. Nikon D3, Sigma 15mm Fisheye Lens, 1/100, f/16.STEP 1: Polish Your Dome Before Every Session Tiny mineral and even biological deposits adhere to your dome over the course of the day. Water drops cling to these particles in all the worst places. Before each session, I gently polish my glass dome with a soft plastic polish such as Novus number 2. Water will then sheet off the dome for a good half hour in the water. STEP 2: Keep the Dome As Dry As Possible Keep the top of your dome out of the water and as splash free as possible. If you’re working in very controlled conditions, blot water drops from the dome with a clean towel. STEP 3: Dunk Before the Shot Inevitably you’ll get the dome completely wet. After this happen simply dunk the entire dome in the water right before every shot. The goal is to shoot through the water while it’s sheeting off the dome. If spots become a problem, rub spit on your dome just like cleaning your mask. This will usually help extend your time before another cleaning is required. ...
Related Posts
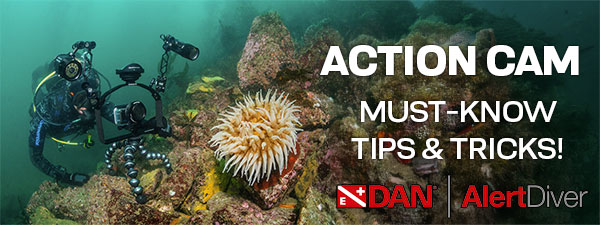
Best Underwater Action Camera Settings Guide
What kind of action camera diver are you? Do you capture clips here and there on your dive, spend your entire time underwater shooting video, or use an action camera alongside a larger, dedicated came...
Read More 
Backscatter AOI QRS Quick Release Lens System Installation Guide
The AOI Quick Release System (QRS) offers a convenient way to store and swap lenses for AOI and Backscatter lenses. When used with the Backscatter Double Handle and Tray and The Arch, the system posit...
Read More 
Complete Guide For GoPro HERO13 Best Underwater Video & Photo Settings
The GoPro HERO 13 Black is the best camera from GoPro to date and is our favorite action camera. The GoPro HERO13 has upgraded battery life for longer shoots, super smooth image stabilization, and a s...
Read More 
Interviews with the Pros: Shooting Subjects Big and Small with Dustin Adamson
From humpback whales to nudibranchs, tiger sharks to flamboyant cuttlefish, Dustin Adamson has shot it all. In this interview, Dustin shares key insights on the gear he uses, as well as his process an...
Read More 
Remote Lighting with Backscatter Hybrid Flash, Atom Flash, Mini Flash 3, & Mini Flash 2 Underwater Guide
One of the standout features of the Hybrid Flash and Mini Flash 2 is Remote Mode. Unlike a simple slave mode, Remote Mode allows for remote triggering and adjustment of power levels on an off-camera H...
Read More 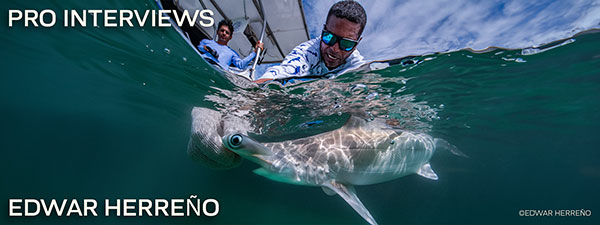
Documenting Marine Conservation with Edwar Herreño
Backscatter pro client and affiliate Edwar Herreno is a marine biologist, technical diving instructor, conservationist, and award-winning freelance underwater photographer and filmmaker. His work has ...
Read More