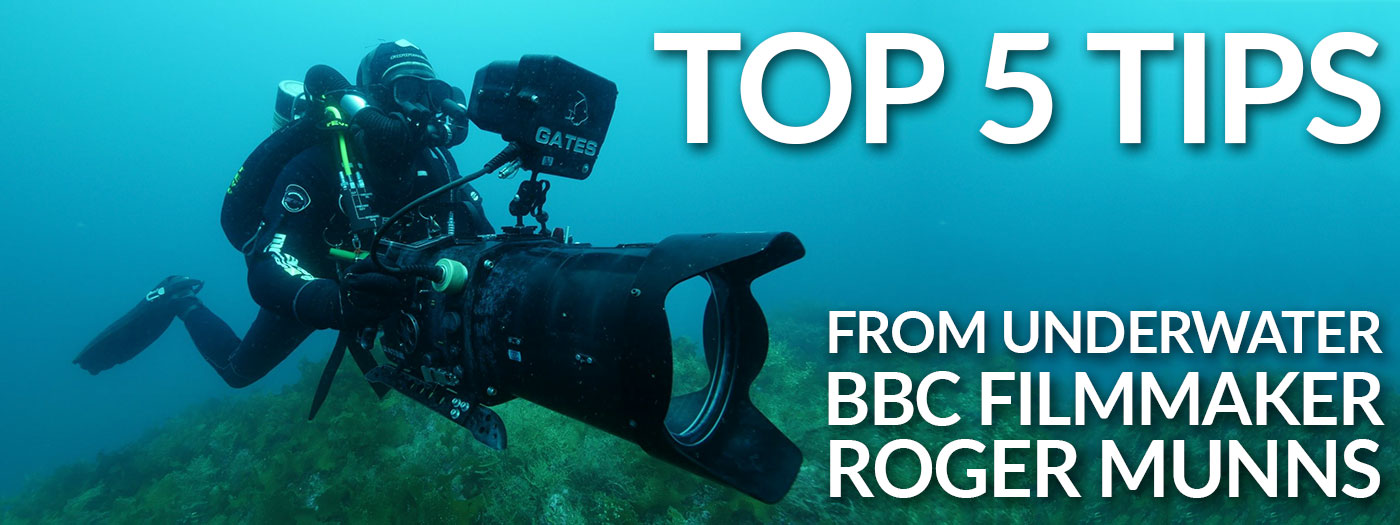
Top 5 Tips From a BBC Underwater Filmmaker
Only a handful of people become a world-renowned underwater videographer for the BBC. Backscatter asked our dear friend and client Roger Munns to break down his greatest tips for inspiring filmmakers. If you’ve watched Blue Planet, you have seen Rogers Munns amazing work. In this article, Roger has broken down underwater video into the top 5 old tips and his new top 5 brilliant tips. The team here at Backscatter is very stoked to share his insight. THE CLASSIC 5 TIPS:Keep the sun behind youZoom with your feetGet low and point upWhite Balance ManuallyGet TrimTHE NEW 5 TIPS:Shallow depth of fieldShoot into the lightShoot off speed Keep moving, but slowlyLens Flare Those old five tips should see an instant improvement in your underwater images. However - rules are made to be broken. When I shoot for super-landmark productions like the BBC’s Blue Planet II I try and emulate the look that cinematographers achieve on land. A look that can be described as cinematic and smacks of high production value. I realize that most people out there shooting underwater video aren’t going to have the opportunity, like me, to spend three weeks in the company of one anemone fish to shoot 20hrs of footage for a five minute edited piece. However, I hope these new five tips will help your footage look a little more cinematic and have your friends jaws a little bit lower than usual as they sit down to enjoy your latest trip video! Shallow depth of fieldBack to Top This is possibly the single most important facet of creating what we think of as a ‘cinematic’ shot. For years you could tell instantly the difference between a TV movie and a cinema movie by the depth of field. TV shows and TV movies were often shot on cameras with small sensors which gave a large depth of field - meaning more of the picture was in focus. Theatrical releases, however, were shot on larger, super 35mm sensors which gave pleasing blurry backgrounds and focussed the attention of the viewer on the subject which was beautifully sharp in the frame. Now we all have access to bigger sensors and that means we can achieve that cinematic look. To do this you’ll need to open the iris up. Here is where the quality of your lens will tell. Faster lenses will allow you to open them up more and get better bokeh. Depending on the FOV of your lens you’re going to want to be at f5.6 or wider. Be careful as your focal plane will be reduced and it will be trickier to keep your subject in focus. This is best used on subjects that are not moving too fast. Tip - As you open up your iris to get that Bokeh you will let more light in and exposure may become an issue. Try not to increase your shutter speed as this can look a bit funky. Drop the ISO as far as possible or if your camera has built-in ND’s then it’s time to flip one on. Shoot into the light Back to Top This is completely counterintuitive and goes against the first basic rule of ‘keep the sun behind you’. However, when you master this technique you’ll get much more moody, emotional images. There is a caveat here. You must have a camera with a high dynamic range to handle the high contrast. If you’re shooting on GoPro this will be a hard look to achieve, not impossible but much harder. Most DSLR’s or even compact mirrorless cameras made in the last five years will have a sensor that has a dynamic range of 12-14 stops. This means they can handle high contrast situations well, which is what you need when using backlight. So your subject should be exposed well, and not silhouetted, despite backlighting. The best time to backlight is when the sun is low in the early morning or late afternoon. Of course, this will vary on your latitude but here in the tropics, where I am fortunate to be based, it’s around 6-8am and 4-6pm. That’s when those beautiful warm sun-rays caress the reef or the manta ray as it glides past. You also need relatively good visibility as shooting into the light will make water clarity look worse than it actually is. This is not something to attempt in 5m vis. Try this technique on wide lenses for reef-scapes and also on mid-long lenses where the backlight will help separate your subject from the background. Tip. If your camera is pointed to 12 o’clock try framing the sunlight at 10 o’clock or 2 o’clock. Shoot off speedBack to Top Shooting ‘off-speed’ or slow motion is a classic cinema trick. It’s a way of drawing more character out of a subject. I’m not talking about shooting at 1000fps here to see how a mantis shrimp strikes but just a little slower than normal to bring out a lyrical feel to your shots. You need to be careful here. Don’t go too slow - if you do you’ll find that the movement of the fish looks un-natural. The general rule is that the narrower your field of view the more you can slow down. Example: shooting a 16mm lens on a full-frame sensor you might go to 40fps. At 50mm on the same sensor, you could push it to 50 or 60. At 120mm for a close-up portrait of a moving fish, you might go as far as 90fps. Experiment with different frame rates and find what works and looks natural. It will also help stabilize your shots. Technical tip - When shooting slow-motion try to keep your shutter speed at twice your frames per second. Example if you are shooting 60fps then your shutter speed should be 1/120s. If you have the option in your camera menu it’s simplest to set your shutter to ‘angle’ and then you can keep it at 180º for all your frame rates. Keep moving, but slowlyBack to Top Statics are passé. Underwater we can create the equivalent of Steadicam gimbal shots with good buoyancy and movement during filming. The most important thing here is good trim both for you and your camera rig. If you and your camera are well balanced then you won’t be fighting your camera and the shot will be steadier. You have three-axis for your body to move through. X - left to right. Y - up and down. Z - forward and backward. You can also pan and tilt the camera with your arms and hands. Lots of room for experimentation here. Try to keep shots smooth, let the action develop, and find a natural time to end the shot - either by letting the subject swim out of frame or settling on a finishing position like a nice coral head. Often the simplest moves look the most cinematic. Just slowly gliding along the reef in a light current can look like the equivalent of a stabilized helicopter aerial. Tip - combine this with a slower frame rate to smooth out your moves. Lens FlareBack to Top Lens flare is produced by unwanted light entering your lens. This is often stray light from strong sources such as the sun. Modern lenses (even primes) often have several elements inside them and light can reflect from these internal elements and cause prism-like artifacts to appear on your image. Normally we’d try and reduce flare, by using hoods/shades and anti-reflective coatings, as it can reduce the overall contrast and image quality of our shot. However, some cinematographers use lens flare to give some character and feel to their shot and we can use it underwater in the same way. People are used to seeing it in cinema films and you’ll often see it added to shots artificially in animated films to make it feel more real. The way I like to use it is to have it move across the image as the camera moves. You’ll need to frame up shooting into the sun. Experiment with different angles and positions until you can get some flare. Then you can do a slow pan, tilt or other move so that the flare moves slowly across the image. There’s a fine balance as to what looks horrible and what looks classy so try it a few different ways to see what looks best. Conclusion I hope these new five tips help you move forward with your underwater film-making. We are so fortunate to be living in a time where we have incredible, creative, film-making tools that are accessible to the general public and are far superior, and a fraction of the cost of what professional underwater camera operators were using just 10 years ago. Get out there and create! About Roger MunnsRoger Munns is an Emmy and BAFTA award-winning cameraman. He was one of the principal cameramen on Blue Planet 2 and has worked extensively on other landmark BBC natural history productions such as Life, Life Story and Life in Cold Blood. Specialising in Natural history documentary film-making, Roger logged over 600hrs underwater as a principal cameraman on the Blue Planet II series. He filmed ten different stories for four episodes – One Ocean, Coral Reefs, Open Ocean and Our Blue Planet. You can read more about that on Roger’s Blue Planet II blog. An underwater cameraman since 2001 Roger has experience working in diverse locations and habitats from the Antarctic to the tropics, open ocean to coral reefs. While enjoying the challenge of filming megafauna, such as manta rays and blue whales, his specialty is crafting complex, character-led stories. Notable sequences include ‘Percy the Tuskfish’ smashing clams on an anvil for Blue Planet II, the first filming of the humpback whale heat-run in Tonga for One Life and a brutally enthralling turtle mating sequence for David Attenborough’s Life Story. Roger is an excellent freediver and also dives a rEvo closed circuit rebreather. He owns and operates an 8K Red DSMC2 Helium cinema camera housed in a Gates Deep Weapon underwater housing and has worked extensively with lighting and grip underwater.
Related Posts
Best Underwater Action Camera Settings Guide
What kind of action camera diver are you? Do you capture clips here and there on your dive, spend your entire time underwater shooting video, or use an action camera alongside a larger, dedicated came...
Read More 
Backscatter AOI QRS Quick Release Lens System Installation Guide
The AOI Quick Release System (QRS) offers a convenient way to store and swap lenses for AOI and Backscatter lenses. When used with the Backscatter Double Handle and Tray and The Arch, the system posit...
Read More 
Complete Guide For GoPro HERO13 Best Underwater Video & Photo Settings
The GoPro HERO 13 Black is the best camera from GoPro to date and is our favorite action camera. The GoPro HERO13 has upgraded battery life for longer shoots, super smooth image stabilization, and a s...
Read More 
Interviews with the Pros: Shooting Subjects Big and Small with Dustin Adamson
From humpback whales to nudibranchs, tiger sharks to flamboyant cuttlefish, Dustin Adamson has shot it all. In this interview, Dustin shares key insights on the gear he uses, as well as his process an...
Read More 
Remote Lighting with Backscatter Hybrid Flash, Atom Flash, Mini Flash 3, & Mini Flash 2 Underwater Guide
One of the standout features of the Hybrid Flash and Mini Flash 2 is Remote Mode. Unlike a simple slave mode, Remote Mode allows for remote triggering and adjustment of power levels on an off-camera H...
Read More 
Documenting Marine Conservation with Edwar Herreño
Backscatter pro client and affiliate Edwar Herreno is a marine biologist, technical diving instructor, conservationist, and award-winning freelance underwater photographer and filmmaker. His work has ...
Read More