Shark Diving off of San Diego with Joe Platko
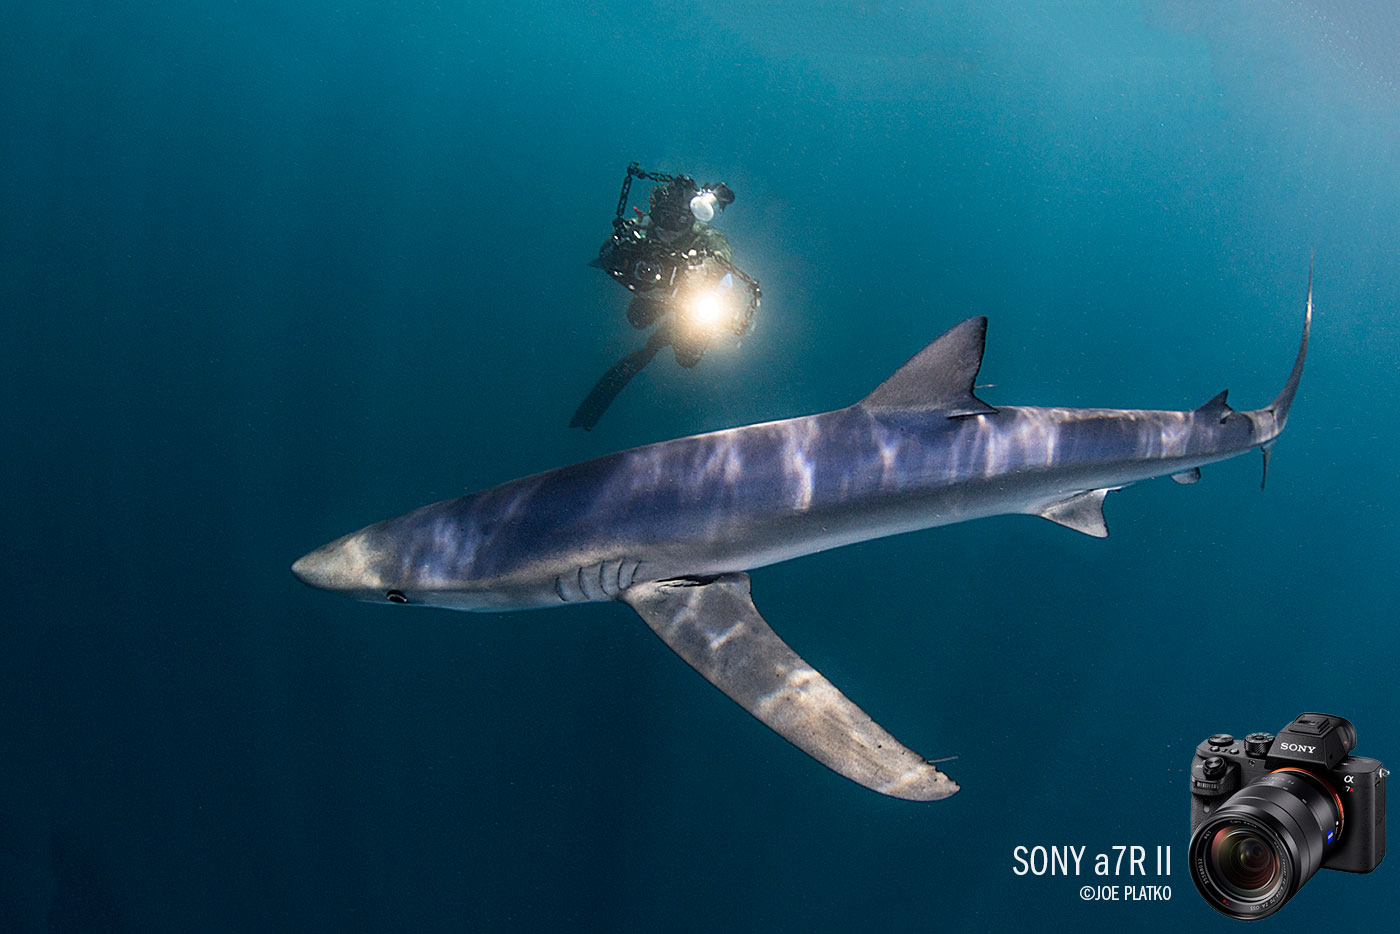
If one were to think of diving opportunities in California, most people would instantly imagine lush kelp forests and invertebrate covered boulders. But off of San Diego lies another kind of experience, the possibility to swim with pelagic sharks. This past weekend I was given such an opportunity, so I would like to share some things I learned from my recent travels. I would like to start with a few words of caution. Being out on the open seas can mean conditions don’t always cooperate. We were only able to make it out to sea one of the two days we had scheduled, and even if you do make it out there is no guarantee of finding sharks. But while this may turn off some people, I find it makes the encounters you do get that much more special. Ready for the action! This shot was to test properly exposing the ambient surroundings. I figured it was the perfect time to get a fun shot of the boat and fellow divers. Shot with Sony a7R II, Nauticam NA-A7II Underwater housing and Tokina 10-17mm at 17mm 1/250th sec, f/13, ISO 400.Equipment To help streamline my equipment and make it easier to move around, I try to keep my gear relatively light. I will either use a single strobe or shoot ambient only if taking pictures, or bring a single video light as a fill for video work. In terms of lenses, the wider you can shoot the better. I prefer using a fisheye as sharks may come right up to your dome port, but a wide rectilinear lens may also work well, especially for more timid individuals. For this shoot, I shot the Sony a7R II Mirrorless Camera and Tokina 10-17mm Fisheye Lens and a Metabones Adapter in the ||Nauticam NA-A7II Underwater housing. Sony a7R II Mirrorless CameraNauticam NA-A7II Underwater housingSea & Sea YS-D2 Underwater DS-TTL StrobeLight & Motion Sola Video 3800 Flood Underwater Video LightTokina 10-17mm f/3.5-4.5 Fisheye LensRockin' and Rollin' These types of shark encounters requires boats to head a fair ways out to sea (approx. 8-9 miles), and because of this conditions can at times be less than ideal. This is not always the case, as my first experience involved glassy conditions with not a ripple on the water. However, I would strongly recommend having either Dramamine or a scopolamine patch. One should always be prepared for rough conditions though, as even small swells can have an effect while you’re bobbing on the surface snorkeling. For photography, having swell can cause a couple problems. The constant crashing can cause micro bubbles to form on the front of your port. Because of this I constantly wipe the front of my camera, especially right before a pass from a shark. The second issue is that any rocking can make it difficult to look through a viewfinder, so I often end up shooting blindly. I would recommend testing your camera gear beforehand to get an idea of its field of view. This can help you estimate where the shark is in the frame as it comes up and swims by. Shot with Sony a7R II, Nauticam NA-A7II Underwater housing and Tokina 10-17mm at 17mm.Techniques to try Due to chum being used to bring in the sharks, I ended up using a few different techniques to keep backscatter to a minimum, which include: 1. Shoot ambient only: This allows the light patterns on the shark to be seen, and shows off the shark’s coloration. If you shoot just below the surface, there should be ample light to use a fast shutter speed and still have a properly exposed image. Shooting down can show off the similarity in color of a blue shark to that of the surrounding water, as well as the sharks torpedo like body. Shot with Sony a7R II, Nauticam NA-A7II Underwater housing and Tokina 10-17mm at 17mm, 1/160th sec, f/9, ISO 6402. Single Strobe: If you do want some additional light on a shark, try only using one strobe. By using less light, there’s much less chance of creating backscatter in your images. I normally position my strobe straight above the dome and looking directly forward, and only use 1/2 power at most. I do this only to add a bit of fill light on the shark rather than trying to overpower the ambient light. Sometimes the sharks get a bit too close to light properly. However the darkened, blurry nose can give a sense of just how close the animal is. Shot with Sony a7R II, Nauticam NA-A7II Underwater housing and Tokina 10-17mm at 17mm, 1/200th sec, f/9, ISO 400.3. Drag the shutter/rear curtain flash: By using a longer shutter speed and using a rear curtain flash (popping the flash at the end of the exposure) you can blur distracting elements as well as show movement and action in your shots. Play with with different shutter speeds to see what you find most appealing. On this past trip I mostly shot around 1/10 - 1/15th sec, as this created a fair amount of blur but still kept the sharks relatively sharp. Using a rear curtain flash with long exposures will allow you to get movement in your photo, but freeze some action right at the end of your exposure. Shot with Sony a7R II, Nauticam NA-A7II Underwater housing and Tokina 10-17mm at 17mm, 1/13th sec, f/29, ISO 3204. Black and White/ High Key: If you happen to take a trip when visibility is less than stellar and the water color isn’t a vibrant blue, or if you’re just in the artistic mood, you can always convert your images to black and white. This can work quite well with images portraying the blue shark’s long, sleek body as well as its counter shading. You don't have to only get up close shots of the sharks, feel free to add more negative space to your compositions. Shot with Sony a7R II, Nauticam NA-A7II Underwater housing and Tokina 10-17mm at 17mm, 1/250th sec, f/11, ISO 400Other Tips to Consider1. Include People: As you are usually in the water with additional divers, it can get hard to take shots without others in the frame. Instead, try incorporating divers into the shot to show the interaction between species, as well as giving a sense of scale. I will also shoot a few test shots of people when I first jump in to get my exposure set. Having a diver can help give a sense of scale to compare a shark to. This large male (shark) was around 10' long. Shot with Sony a7R II, Nauticam NA-A7II Underwater housing and Tokina 10-17mm at 17mm, 1/160th sec, f/18, ISO 4002. Let them come: It’s easy to get excited when sharks show up, but try to refrain from chasing after the sharks. They are normally inquisitive and will come right up to you, so there is no need to swim after them. Plus, you may ruin other people’s shots who were waiting for their opportunity with the shark. Rather than chase or crowd around the sharks, I try to give some space between the other divers so that each person can have their special interaction with the animals. Fellow photographer Kyle McBurnie showing that patience pays dividends. Rather than swimming after the shark, he would simply breathe out to sink and then let the sharks come right over him. Shot with Sony a7R II, Nauticam NA-A7II Underwater housing and Tokina 10-17mm at 17mm, 1/160th sec, f/10 ISO 4003. Shoot in Shutter Priority: There are times when the light can rapidly change, such as during the morning or evening when turning 180° can mean shooting back lit or front lit. I use shutter priority rather than aperture priority because depth of field is rarely an issue due to there being no background to focus on. By setting priority on the shutter I can determine if I want to shoot at 1/250th to get a sharp, crisp image or drag the shutter to show motion blur. Shots don't have to always be sharp. By slowing my shutter speed down and panning as the shark swam past I was able to create a feeling of movement. Shot with Sony a7R II, Nauticam NA-A7II Underwater housing and Tokina 10-17mm at 17mm, 1/10th sec, f/22, ISO 4004. Work It! Try shooting sharks from multiple viewpoints: coming at you, looking down or above, and as they’re swimming away. The same goes for compositions, try close portraits, wide's with lots of negative space, and anything in between. Memory is cheap, so really work that trigger finger. Switch up your camera angles. After getting a bunch of head on shots, I wanted to try something different and show how elongated the caudal fin of a blue shark is. Shot with Sony a7R II, Nauticam NA-A7II Underwater housing and Tokina 10-17mm at 17mm, 1/160th sec, f/10, ISO 4005. Shoot Video: I will be the first to admit, I’m usually so focused on taking photos that I forget to also shoot video. However these sharks are great for video because they often come right up to the camera, and are usually quite graceful and slow moving making tracking very easy. Blue Sharks with San Diego Expeditions by Connor GallagherSan Diego Blue Sharks by Phil LemleySpecial Thanks I would like to give a huge shout out to SD Expeditions for doing all they could for us on this trip. From continuously giving us updated condition reports, to keeping us safe and comfortable, they worked hard to make this trip an unforgettable one. Also, thanks to Patrick Webster for organizing everything and for the battle of wits with all the puns on the drive down. More About Joe Platko Joe Platko is a nature and underwater photographer who currently resides in Monterey, California. He is a graduate of CSU Monterey Bay, having earned a bachelors of science focusing on marine ecosystems. It was there that he furthered his passion for the ocean by first obtaining his dive certification, and shortly thereafter buying his first underwater camera setup. In his free time, one can either find Joe in the water surfing or diving, or exploring the wilderness around the Central Coast. VIEW MORE OF JOE'S WORK
Related Posts
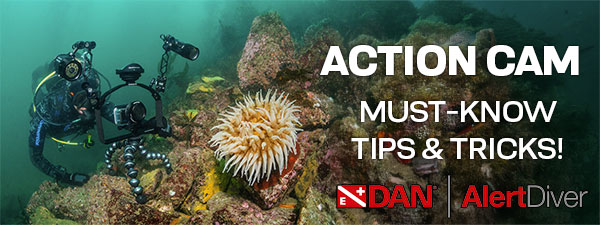
Best Underwater Action Camera Settings Guide
What kind of action camera diver are you? Do you capture clips here and there on your dive, spend your entire time underwater shooting video, or use an action camera alongside a larger, dedicated came...
Read More 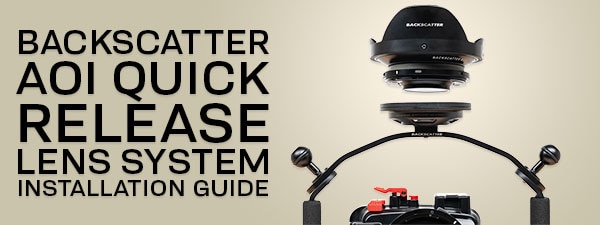
Backscatter AOI QRS Quick Release Lens System Installation Guide
The AOI Quick Release System (QRS) offers a convenient way to store and swap lenses for AOI and Backscatter lenses. When used with the Backscatter Double Handle and Tray and The Arch, the system posit...
Read More 
Complete Guide For GoPro HERO13 Best Underwater Video & Photo Settings
The GoPro HERO 13 Black is the best camera from GoPro to date and is our favorite action camera. The GoPro HERO13 has upgraded battery life for longer shoots, super smooth image stabilization, and a s...
Read More 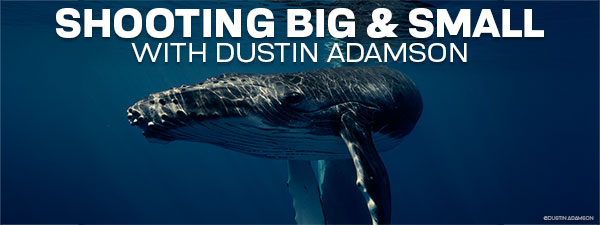
Interviews with the Pros: Shooting Subjects Big and Small with Dustin Adamson
From humpback whales to nudibranchs, tiger sharks to flamboyant cuttlefish, Dustin Adamson has shot it all. In this interview, Dustin shares key insights on the gear he uses, as well as his process an...
Read More 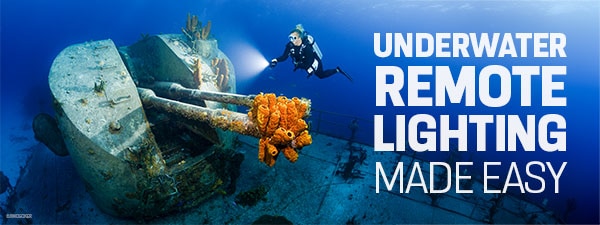
Remote Lighting with Backscatter Hybrid Flash, Atom Flash, Mini Flash 3, & Mini Flash 2 Underwater Guide
One of the standout features of the Hybrid Flash and Mini Flash 2 is Remote Mode. Unlike a simple slave mode, Remote Mode allows for remote triggering and adjustment of power levels on an off-camera H...
Read More 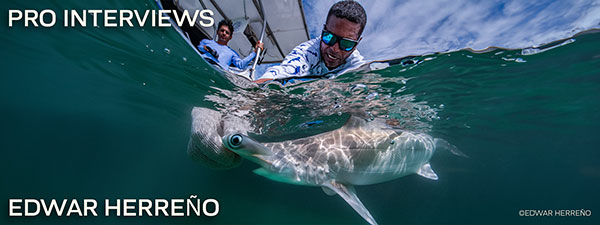
Documenting Marine Conservation with Edwar Herreño
Backscatter pro client and affiliate Edwar Herreno is a marine biologist, technical diving instructor, conservationist, and award-winning freelance underwater photographer and filmmaker. His work has ...
Read More